Mail Pull Configuration
POP3/IMAP4/Exchange Server Account
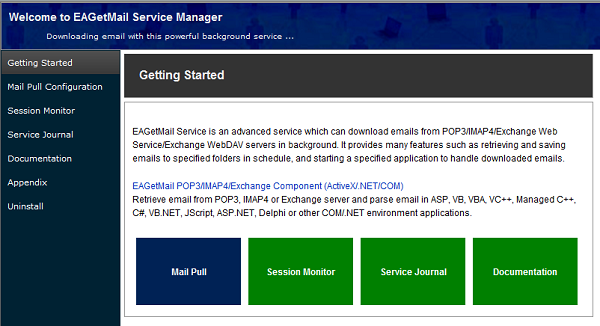
After the installation is complete, click "EAGetMail Service Manager" from "Start menu ->
All Programs -> EAGetMail Service -> EAGetMail Service Manager" to set up mail account.
To download emails from a POP3/IMAP4/Exchange server (WebDAV, Web Service), first of all, specify the
account details here. Please input your server, user, and password. After you set
the account details, please click "Test" to test it, if it returns "Test is ok",
then you can click "Save" to update your configuration.
- Server Address
- Your POP3/IMAP4/Exchange server IP address or domain name.
- Server Port
- Specify your server port. By default, this value can be set automatically based
on your server protocol.
- Protocol
- Specify your server protocol. Once you changed the protocol, the server port will
be changed automatically. Exchange Server supports POP3/IMAP4 protocol as well,
but in Exchange 2007 or later version, POP3/IMAP4 service is disabled by default.
If you don't want to use POP3/IMAP4 to download email from Exchange Server, you
can use Exchange Web Service (Exchange 2007/2010 or later version) or WebDAV (Exchange
2000/2003) protocol.
- SSL Connection
- By default, Exchange Web Service requires SSL connection, so when you changed protocol
to Exchange Web Service, the SSL Connection will be set to SSL Auto automatically.
For other protocols, please set the SSL Connection based on your server setting.
If your server doesn't require SSL, please set it to None.
- Auth Type
- User Login is recommended.
- User
- Specify your user name to login server. For Exchange Web Service/WebDAV, please
use domain\user as the user name.
- Password
- Your password to login server.
Mail Process
- Download interval
- Download emails from above account every 15 minutes. By default, this value is 15
minutes, you can set it to 1 to 3000 minutes, setting the interval to a small value
is not recommended.
- Leave a copy of message on mail server
- If this option is checked, EAGetMail Service won't delete the email from the mail
account after the email was retrieved. EAGetMail creates a "uidl.txt" file in the
local folder to store the retrieved email information to prevent
download the same email again and again. If you delete the "uidl.txt" file manually,
all of your emails in your mail account will be retrieved again. Notice: if you
have this option checked, you should delete emails from your mail account manually,
because EAGetMail Service won't delete the email in your account.
- Save email file(s) to specified local folder
- You should input a valid/existed folder full
path here to store the emails retrieved by EAGetMail Service. EAGetMail Service
saves email as eml file to this folder, the file name format is YYYYMMDDHHmmss[index].eml.
Notice: DO NOT use a common folder for multiple email accounts, but use a dedicated
local folder for each mail account. For example: set "c:\program files\eagetmailservice\pull\test"
for test account and "c:\program files\eagetmailservice\pull\test1" for test1 account.
- Run specified application after download is finished. (optional)
- You can specify
a DOS command or executable file here. Every time when EAGetMail Service checks
email from email account, the command/executable application will be invoked by
EAGetMail Service.
- For example: you developed a mail parser application named "parser.exe",
if you want to download emails from above account in schedule and parse the downloaded
emails, you can input fullpath\parser.exe here, then your application will be invoked
every time EAGetMail Service checks email from POP3/IMAP4/Exchange account. Your application
doesn't have to check/retrieve emails directly from email account, instead it processes
the *.eml files stored in the local folder.
- You can also input a batch (*.bat) or script, jscript (*.vbs, *.js) file name here, EAGetMail can also execute the script/batch task automatically.
- If your command requires arguments or your file path contains space, please use double quote (") to separate your command and arguments.
For example:
"c:\program files\my app\parse.vbs" "my argument 1" "my argument 2"
See Also
Disclaimer Installation
Journal and troubleshooting